How to take apart Tablet Lenovo Tab 2 A8 A550F– MODEL NO. A550F
Boasting a Quad-Core ARM processor, 1GB DDR3 RAM, a 4000mAH battery and an HD display that is absolutely beautiful, this affordable tablet will suit any of your needs, be it replying to emails or watching videos on Netflix, this tablet can do it all! Disassembly of this device is very simple, and most parts are easily replaced or changed with minimal effort.
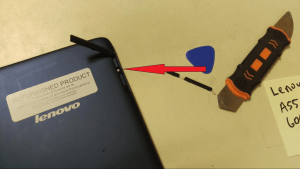
Disassembly of this tablet starts by opening the panel on the back cover of the device. Removing the screw here covered by anti-tamper tape will enable you to access the internals of the device. Attempting to remove the back cover without this screw removed will result in damage to the back case. Note — Removing this screw will void your warranty!
After removing this screw, pry between the case to separate from the screen, then move progressively along the case with a plastic pick to fully separate the back panel from the casing. It should come apart very easily.
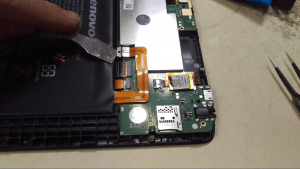
After the back cover is removed, start by removing the tape that is covering several different ribbon cable connectors. This is a very important step, because damage can occur very easily to the cable or the connector on the board if the cable is removed with the tape still there. I used tweezers for this.
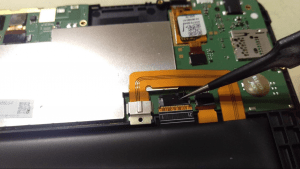
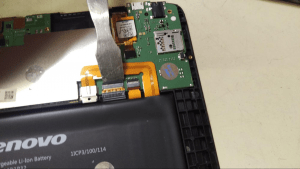
To remove the ribbon cables, steady upward pressure must be applied to the cable release bar. Use a pry-tool that is of similar size to the release bar, as this is also easily damaged if steady force is not applied to the entire lever. The photo above shows good technique.
The battery connector is a bit strange, but is easily removed. Pry up using a suitable pry tool and it should pop off easily.
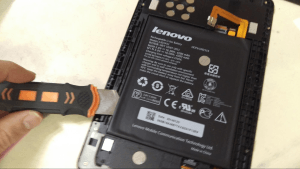
The battery is, again, a bit tricky but nothing too difficult. There is light adhesive applied to the backside of the battery, so applying light, even pressure with a pry tool should remove the battery easily. If you are using a metal tool like I did, be very careful not to puncture the battery!
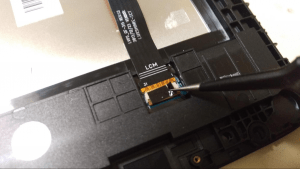
There is tape covering the LCD cable, so remove it and pry up gently on the cable release bar like before to remove it.
*WARNING* The next step is a bit advanced, and is not recommended for people who do not have experience in this area. If you do not know how to use a heat gun correctly, you can severely injure the device or yourself. Please do not attempt this if you don’t know what you’re doing! *WARNING*
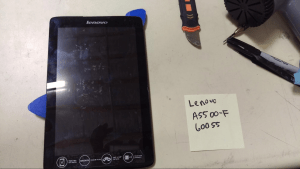
On the device I am working on, the touch screen is scratched and does not work right so I am going to separate it from the LCD. The digitizer (touch screen) is not fused to the LCD, so removal is easy enough.
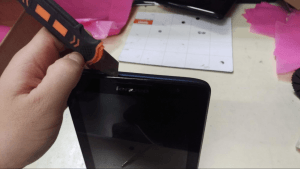
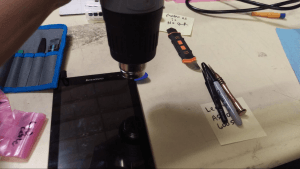
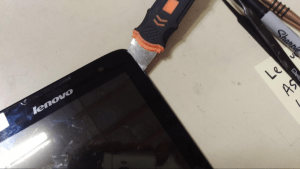
Using a heat gun, I apply heat evenly along the corner of the screen. Using a metal opener-tool as pictured, squeeze the tool between the case and the screen just enough to slide a plastic pick in.
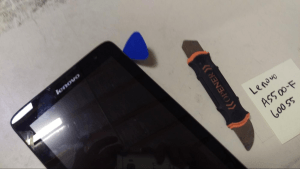
A plastic pick is always recommended over metal tools for this since the LCD can easily be scratched, and you can also scratch the touch screen easily, in case you want to recover it.
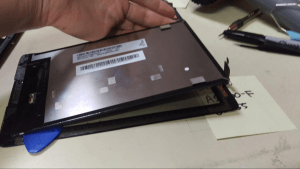
To remove the screen without breaking either part, you will need to evenly heat the assembly while moving the pick inside along the length of the screen, removing adhesive bit by bit. This process is much easier on this device than other, similar devices, so the two pieces can be separated quite quickly.
That should be it! Complete disassembly.
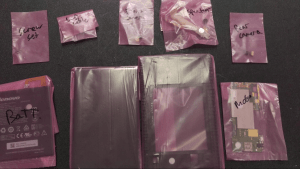
All the parts of the device in bags and labeled.
By Aden Webster
