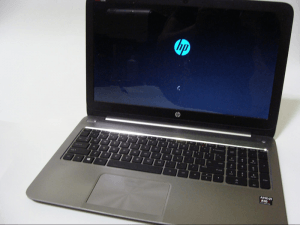
HP Sleekbook m6 k010dx Entertainment Notebook PC
The HP Sleekbook m6 k010dx is a cheaper version of m6-k015dx. The main difference between the two is touchscreen which is not featured in the cheaper model. Many will agree that a laptop doesn’t need a touchscreen and will gladly pocket the price difference.
Except for the lack of touchscreen the m6 k010dx is a premium laptop with all the bells and whistles like Quad-Core processor, subwoofer and backlit keyboard. BeatsAudio sound system adds to the value of the computer.
The name of the model line – Sleekbook is spot on as the laptop is thin and light even for the 15.6-inch screen size.
The AMD A10-5745M Quad-Core processor clocks at 2.9GHz and is a good balance between performance, power usage and price. Combined with AMD Radeon HD 8610G it is sufficient for everyday use and will satisfy all consumers except for gamers.
There is no integrated optical drive which complies with modern laptop design guidelines and helps to keep the body slim and light weighing only 4.7 lbs.
Standard version comes with 6GB ram memory and 750GB storage which should be plenty for day-to-day operations. Unlike Apple MacBooks and other brands’ newest laptops that have sealed cases and components integrated with motherboard, the HP m6 is still possible to open with a small phillips screwdriver. There is no cover door for the hard drive and memory but one can access them by taking the bottom case off the chassis. The system can handle up to 16GB memory and any SATA hard drive and SSD drive.
The screen with 1366×768 resolution isn’t the most one can expect nowadays but like we mentioned the savings on this model come from the display. Yet many competitors were able to provide 1920×1080 displays in similar models costing only $20 more like the Toshiba Satellite P55-A5200.
Overall the HP Sleekbook m6 k010dx is a very nice laptop and considering the moderate price tag will find many enthusiasts.
Technical specifications
HP Sleekbook m6 k010dx Laptop Disassembly Instructions
Difficulty level: Easy
Tools needed:
-
#1 Phillips Screwdriver
-
#2 Phillips Screwdriver
-
Plastic and Metal Opener tools
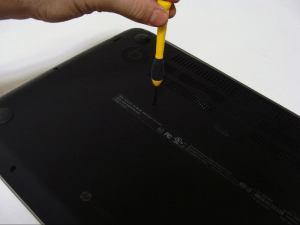
Start disassembly by removing the screws on the bottom cover. You will need a #1 screwdriver for this.
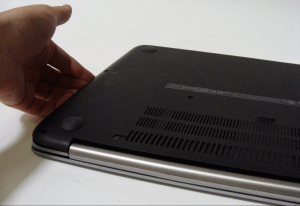
Once all screws are removed, using a pry tool and your hands, pry between the bottom cover and the case. Once you unlatch a few of the latches, it should come off easily. Be mindful of the port covers, as they can be broken if you take it off wrong.
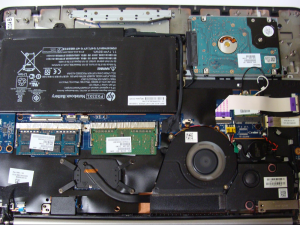
You should now have access to the internals.
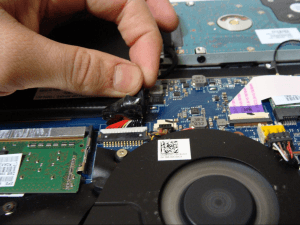
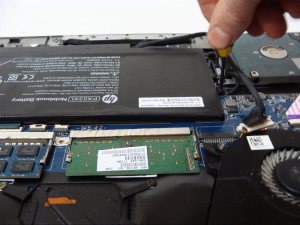
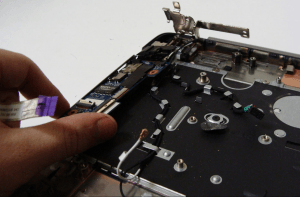
Start by removing the power cable. This is important since if one of the components has power and is removed, one or more parts can be damaged. Simply pull the connector out of its slot to disconnect power.
Remove all visible screws.
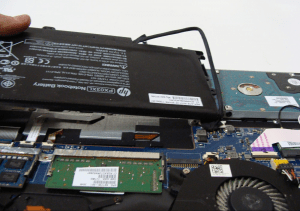
I first removed the battery. Once the screws are removed, this is as simple as lifting it out of the tray.
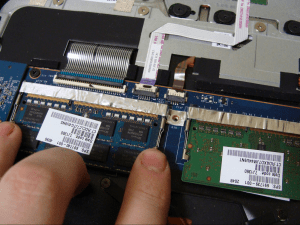
To remove the RAM, “reverse pinch” the connectors on the side, as with all laptop RAM. It should easily come out.
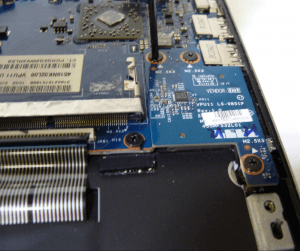
To remove the SD Card board, simply remove the screws and lift up on the board.
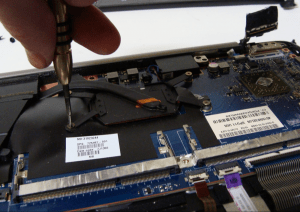
Next, remove the CPU heatsink and fan. Remove the screws with a #1 phillips screwdriver, then lift up on the components. There is a bit of heatsink compound sealing it, so it might be a bit difficult to remove. Simply pull up on it, and it should pop off.
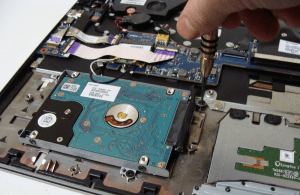
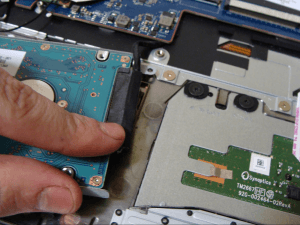
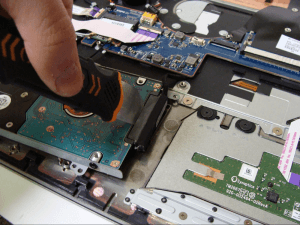
Next, remove the Hard drive. This is easy enough, with only four screws holding it in. Remove these screws, then, if you are replacing your hard drive, make sure to replace the caddy on your new drive. Use a #1 phillips screwdriver to remove the side screws in the caddy.
To disconnect the SATA cable, simply pull out on the connector. You can also use a pry tool to remove it.
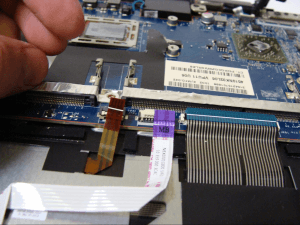
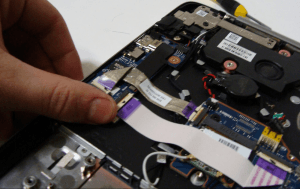
Disconnect the remaining ribbon cables attached to the motherboard.
This is done by lifting up on the respective lever bar, I used my fingers for this since its the least likely tool to break the bar.
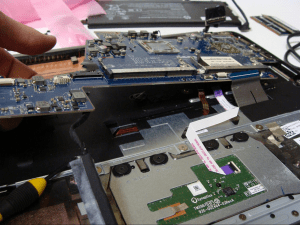
Once all the ribbon cables are removed, the motherboard can be removed.
Once the motherboard is removed, the IO board can be removed. You should have already removed its respective screws. Simply lift up and away from the ports on the side of the computer to remove it.
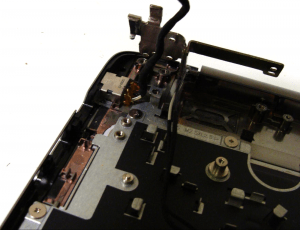
The power connector can be easily removed by simply lifting up on the cable connected, as shown.
Finally, to disconnect the LCD, simply open the laptop Lid like you were opening the computer to use it, and it should disconnect from the frame easily.
Thanks for reading!
By Aden Webster
