If you are a Mac owner, you need to pay attention. Today I am going to talk about malware and how to protect your Mac, so, that if you ever do encounter it, you’ll be prepared and can remove it easily. If you already got your computer infected don’t fret. You don’t need to sell your MacBook and buy another one. We have got a lot of little tips and tricks to go over today, so let’s get started.
A topic that we should all be pretty well versed in is basic security because there are a lot of scam artists online and you want to take the right steps to protect yourself. Thankfully, it’s really easy. There is a piece of software that comes highly recommended that has both a free and pay for version, it’s called: Malwarebytes. http://bit.ly/MalwarebytesForMacI will go over the basic difference between the free and paid for version. The main takeaway from this is if you ever do encounter a form of malware, Malwarebytes will remove it. The paid version is the one that will prevent you from getting it in the first place because it has real-time protection. If you can get the paid version, then it’s probably best to go that route, but if not, just pick up the free (trial) version. Just do something.
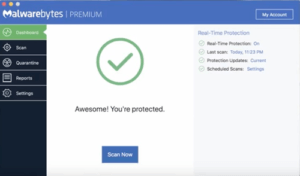
OK, so you’ve downloaded Malwarebytes, now what? Once you open it up, this is what you’ll see, your dashboard.
1 – Setting your scan frequency:
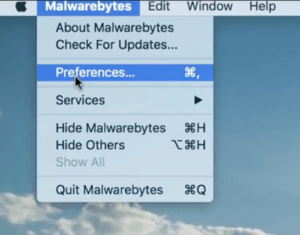
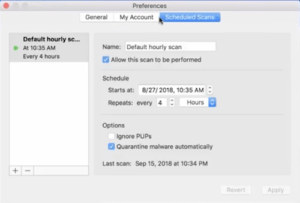
The first thing that you want to do is tweak how often you want your computer to automatically run its scan. The default time is once every hour, but you may not need to do it that often. To make this change go to the preferences of Malwarebytes (top left next to the Apple icon), then go to Scheduled Scans and there you can change it to whatever time integer you’d like.
2 – Additional steps you need to take if malware is detected.
This is what you’ll need to do if Malwarebytes ever finds malware running on your computer. This is important because there are steps that you may need to take to prevent your laptop, or desktop computer, from becoming immediately reinfected. So, you’ve run Malwarebytes and it tells you that it has found something. At this point, it is going to most likely move that file to the trash where you can empty it. However, what you really want to do at this point is to restart your computer because there are certain elements of the infection that will not clear out until you do so. Basically, when it finds something, restart your computer then run Malwarebytes again, then empty the trash bin.
3 – Altering your homepage.
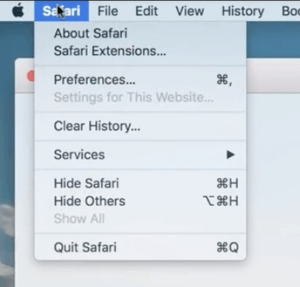
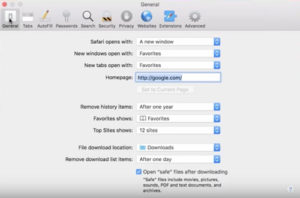
Some adware has the ability to change your web browser’s homepage. An example of that is when you have your homepage set to something like google.com, and when you open it up your homepage may look a bit different or completely different, depending on the webpage the adware put in its place. The problem here is, even though that Malwarebytes removed the malware, once you open this browser webpage, it immediately reinfects your system. The steps you need to take after your clear your Malwarebytes findings is to go to your browser’s preferences tab and under the General tab make sure your homepage is set to your preference and take out anything that may have been altered. Go ahead and reset it to whatever you want, we suggest that you set it to https://sellbroke.com/
4 – A hijacked web browser.
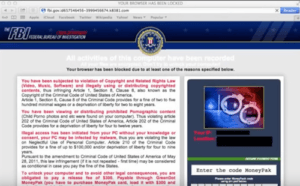
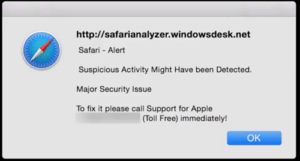
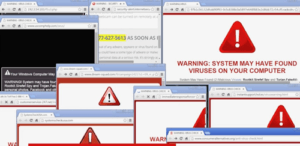
There is another very common form of adware which is referred to as a “hijacked web browser”. The way that this works is that you go to a website, most likely an adult website, and it puts your computer into a “loop” that say various things about your computer being infected with malicious viruses and for X-amount of money we can fix it. This is a scam from the get, and in the end, they just want your money. So, you try and close the web browser and it doesn’t let you or you try and go to a different website and it won’t let you, you’ve basically been hijacked. Here’s how to resolve this problem fairly easily.
If you ever encounter that, the first thing that you need to do is Force Quit whatever web browser running. You can either use the Apple icon at the top left of your laptop display or you can use the keyboard shortcut and use Command + Option + Escape. From there you are going to Force Quit your browser with that problem. Now, hold down your Shift key when you reopen your browser. What you’re doing is basically opening a “safe mode” for your web browser. When you hold down “shift” and launch your web browser, it’ll undo that loop and let you in. Now you want to go back into preferences to make sure it hasn’t altered your homepage. Also, check your extensions tab and make sure there isn’t anything there that shouldn’t be.
